사전작업
이전 포스팅에서 TrustStore까지 생성시켰다
그럼 이제 TrustStore를 배포할 AWS의 특정 경로로 담아주고 SpringBoot에 설정을 진행한다
SpringBoot 설정 작업 진행
Application.yml 설정
spring:
	...
  kafka:
    bootstrap-servers: {broker1}:9098, {broker3}:9098, {broker3}:9098
    properties:
      security.protocol: SASL_SSL
      sasl.mechanism: AWS_MSK_IAM
      sasl.jaas.config: software.amazon.msk.auth.iam.IAMLoginModule required;
      sasl.client.callback.handler.class: software.amazon.msk.auth.iam.IAMClientCallbackHandler
      ssl.truststore.location: {EC2저장경로}\truststore.jks
      ssl.truststore.password: ENC(암호화된 값)
MSK로 구성한 각 브로커들의 주소를 나열해주고 TSL 및 IAM 인증에 필요한 properies를 관리해준다
Consumer, Topic, Producer 측에 설정값 붙이기
KafkaProperty
테스트용으로 한 서버에 설정값들이 다 담겨있는 상황인데, 편의를 위해(Value 도배 방지) 아래와 같이 프로퍼티 관리 객체를 미리 하나 생성했다.
@Setter
@Getter
@Configuration
@ConfigurationProperties(prefix = "spring.kafka")
public class CustomKafkaProperties {

    private String bootstrapServers;
    private Map<String, String> properties;  // `properties` 아래의 모든 설정을 한꺼번에 가져올 수 있음

}
Consumer 설정
@Configuration
@EnableKafka
@RequiredArgsConstructor
public class ConfigKafkaConsumer {

    private final CustomKafkaProperties kafkaProperties;

    /***
     * Message에 대해서 비동기적 처리를 수행
     * @return ConcurrentKafkaListenerContainerFactory
     */
    @Bean
    public ConcurrentKafkaListenerContainerFactory<String, KafkaVO> kafkaListenerContainerFactory() {
        ConcurrentKafkaListenerContainerFactory<String, KafkaVO> factory =
                new ConcurrentKafkaListenerContainerFactory<>();
        factory.setConsumerFactory(consumerFactory());
        return factory;
    }

    @Bean
    public ConsumerFactory<String, KafkaVO> consumerFactory() {

        Map<String, Object> props = new HashMap<>();
        props.put(ConsumerConfig.BOOTSTRAP_SERVERS_CONFIG,
              kafkaProperties.getBootstrapServers()); // 브로커 주소 설정
        props.putAll(findKafkaProperties.getProperties());   // TLS, AIM 설정 적용

        props.put(ConsumerConfig.GROUP_ID_CONFIG, {컨슈머ID});

        props.put(ConsumerConfig.KEY_DESERIALIZER_CLASS_CONFIG, StringDeserializer.class);
        props.put(ConsumerConfig.VALUE_DESERIALIZER_CLASS_CONFIG, JsonDeserializer.class);
        props.put(JsonDeserializer.VALUE_DEFAULT_TYPE, KafkaVO.class.getName());
        props.put(JsonDeserializer.TRUSTED_PACKAGES, "*");
        return new DefaultKafkaConsumerFactory<>(props);
    }


}
Kafka가 Consumer 역할을 하기 위해서 빈이 생성될 때, Application.yml에 설정된 브로커와 SSL 설정을 갖출 수 있도록 하였다. 그 외로 Kafka에 저장되었은 바이트 자료를 KafkaVO 객체로 JSON변환하기 위하여 KEY, VALUE config를 함께 적용해준다
Topic 설정
@Configuration
@RequiredArgsConstructor
public class ConfigKafkaTopic {

    private final CustomKafkaProperties kafkaProperties;

    @Bean
    public KafkaAdmin kafkaAdmin() {

        Map<String, Object> configs = new HashMap<>();
        configs.put(ConsumerConfig.BOOTSTRAP_SERVERS_CONFIG,
                findKafkaProperties.getBootstrapServers());
        configs.putAll(findKafkaProperties.getProperties());

        return new KafkaAdmin(configs);
    }

    @Bean
    public NewTopic topic1() {
        return new NewTopic("{토픽명}", 1, (short) 3); // (토픽명, 파티션수, 복제수)
    }
}
MSK에 Topic 자동생성 설정을 주지 않았기 때문에, SpringBoot 서버가 기동될 때 Topic을 생성시키도록 하기 위해 만든 클래스이며, 이 또한 설정값들을 넣어준다.
더불어 NewTopic은 아래와 같이 설정했다
- 파티션수 :1, 데이터 순서 보장을 위함
- 복제계수: 3, 모든 브로커가 해당 데이터를 복제하여 갖추도록하기 위함 (나의 브로커가 3개이므로)
Producer 설정
@Configuration
@EnableKafka
@RequiredArgsConstructor
public class ConfigProducerKafka {

    private final CoustomKafkaProperties kafkaProperties;

    /***
     * @return ProducerFactory
     */
    @Bean
    public ProducerFactory<String, KafkaVO> producerFactory() {
        Map<String, Object> props = new HashMap<>();
        props.put(ProducerConfig.BOOTSTRAP_SERVERS_CONFIG,
                findKafkaProperties.getBootstrapServers());
        props.putAll(findKafkaProperties.getProperties());

        props.put(ProducerConfig.KEY_SERIALIZER_CLASS_CONFIG, StringSerializer.class);
        props.put(ProducerConfig.VALUE_SERIALIZER_CLASS_CONFIG, JsonSerializer.class);
        props.put(JsonSerializer.ADD_TYPE_INFO_HEADERS, false);

        return new DefaultKafkaProducerFactory<>(props);
    }

    /***
     * KafkaTemplate 인스턴스 생성
     * @return KafkaTemplate
     */
    @Bean
    public KafkaTemplate<String, KafkaVO> kafkaTemplate() {
        return new KafkaTemplate<>(producerFactory());
    }
}
똑같다. Consumer처럼 직렬화 설정을 해준다.
풀어말하면, 현재 KafkaVO가 JSON으로 직렬화되어 바이트 배열로 잘 저장될 수 있게 지정하는 것이다.
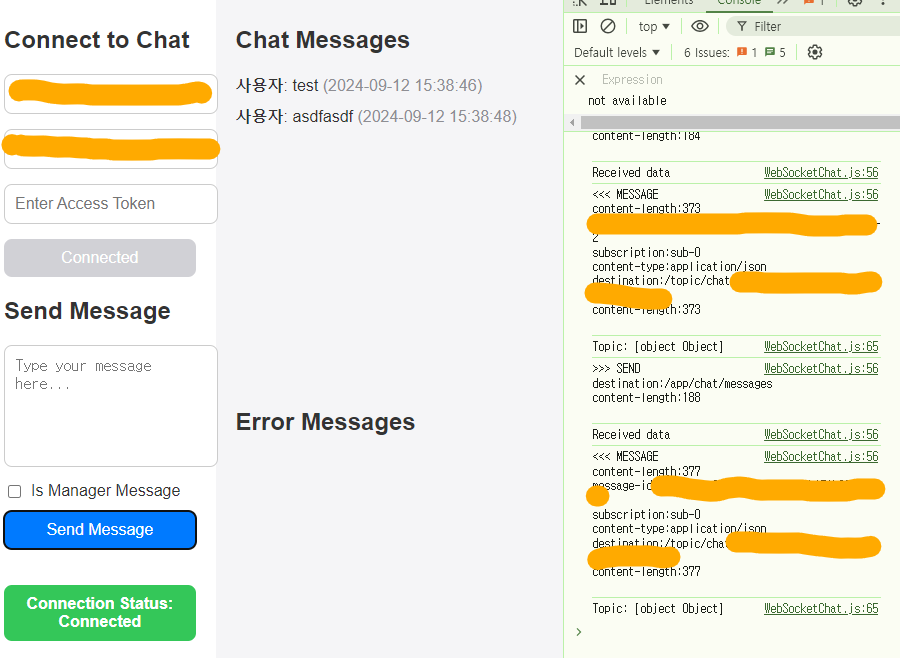
이후 간이로 만든 클라이언트로 접근해보면 접속과 반환, DB저장이 잘 되어있다.


