

니코씨와 함께하는 블록체인 개발
#1 package.json에 index.js 실행 명령어 설정
비효율적으로 프로젝트를 실행시켜보자
...
"scripts": {
    "build": "tsc",
    "start": "node build/index.js",
  },
  ...
1. npm run build (ts한테 컴파일시키고)
2. npm run start (컴파일된 js파일 작동시키고.)
더 나은 방법으로 가자
// in terminal
npm i ts-node

// in package.json
...
    "dev" : "ts-node src/index.js",
...
원한다면 이 시점즈음에 nodemon도 설치하여 자동 커맨드 실행을 해주자
"dev": "nodemon --exec ts-node src/index.ts",
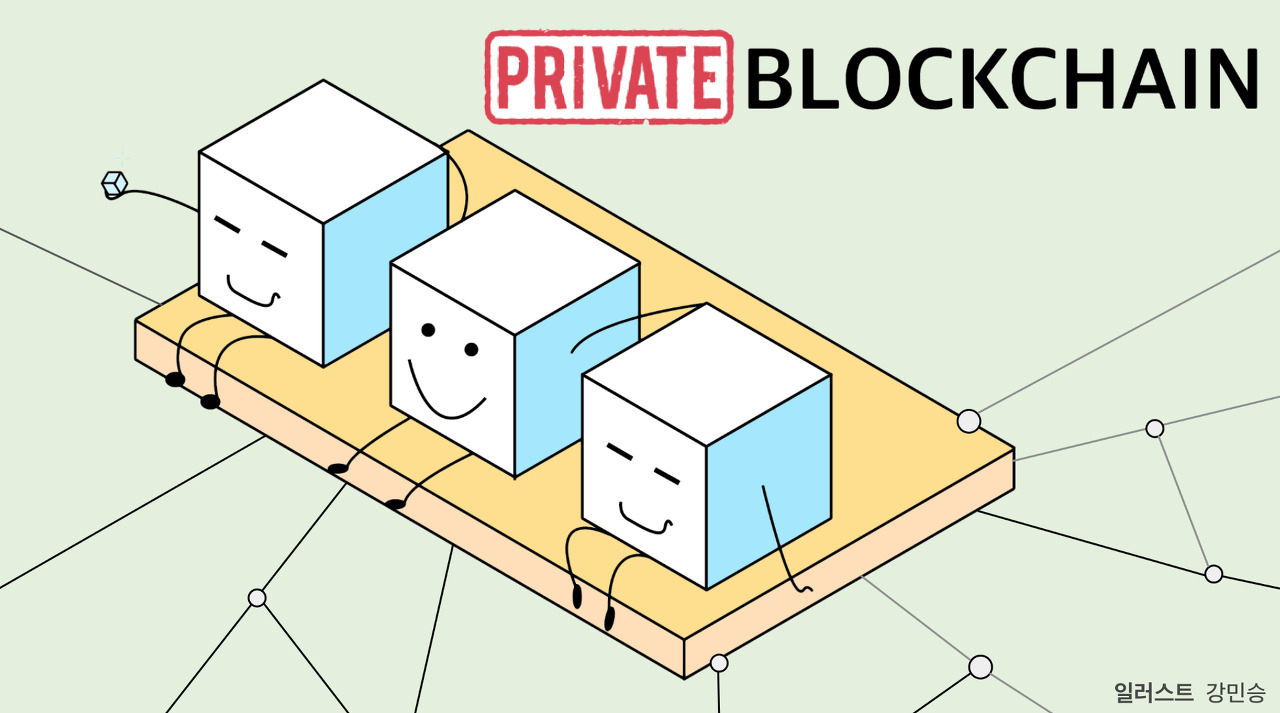
#2 BlockChain 이해하기
블록체인의 간략한 형태 설명
연결된 블록들, 그리고 그 블록 안에는 데이터들이 들어가 있다
각 블록 안에는 다른 블록이 묶여있다 (사슬과 같이 엮인 형태, 연결고리형태 = 해쉬형태)
블록 interface와 interface의 구현체를 만들기
interface BlockShape {
    hash: string; // 이 값은 prevHash, height, data에 이용해서 계산된다
    prevHash: string; // 이전 해쉬 값
    height: number; // 블록의 위치 표시
    data: string; // 블록이 가지는 데이터값
}

class Block implements BlockShape {
    public hash: string;
    constructor(
        public prevHash: string,
        public hight: number,
        public data: string,
    ) {}
}
이 구현체는 preHash, height, data 를 통해서 hash를 만든다
이때, 동일한 문자를 암호화했다면 어디서든 같은 해쉬값 문자열이 나타난다, 그렇다고 해쉬되는 그 값의 규칙성이 드러나는 것은 아니다
#3 Block의 해시함수 작성하기
js의 module을 가져와보자
사실, typescript는 js의 모듈을 가져오면 바로 이해할 수 없다 (import ~ from )
이를 위해 이미 개발자들의 지원을 통해 아까 알아본 .d.ts로 설명글(모듈의 타입을 정의)을 적어놓은 라이브러리가 있다
따라서 이 라이브러리 모듈을 설치하면 된다 예를들어, axon을 설치하고 싶다면 다음과 같이 하면 된다
npm i axon //우선 js 패키지 설치
npm i @types/axon  // 해당 js의 타입이 같이 있는 패키지 설치

npm i @types/node //nodejs의 모든 것에 대하여 타입스크립트에게 정보 전달
여기선 해시화를 위한 crypto가 필요하다
import crypto from "crypto";Block의 해시 함수를 작성해보자
class Block implements BlockShape {
    public hash: string;
    constructor(
        public prevHash: string,
        public hight: number,
        public data: string,
    ) {
        this.hash = Block.calculateHash(prevHash, hight, data);
    }

    static calculateHash(prevHash:string, height:number, data:string) {
        const toHash = `${prevHash}${height}${data}`
        // createHash("") 해쉬 알고리즘 선택
        // update("") 생성된 해시의 암호데이터 삽입, 암호 타입이 string인 경우 자동 utf8적용
        // digest("") 해쉬표기법 선택
        return crypto.createHash("sha256").update(toHash).digest("hex");
    }
}
#4 BlockChain을 구현하기
Block의 연결체인 BlockChain과 관련 함수 구현
class Blockchain {
    private blocks: Block[];
    constructor(){
        this.blocks = [];
    }

    // Block의 이전의 마지막 hash값을 리턴
    private getPrevHash() {
        if(this.blocks.length === 0) return "";
        return this.blocks[this.blocks.length-1].hash;
    }

    // Block에 chain 추가
    public addBlock(data:string){
        const newBlock = new Block(this.getPrevHash(), this.blocks.length +1,data);
        this.blocks.push(newBlock);
    }

    // block 정보 접근
    public getBlocks() {
        // 보안을 위하여 아예 새로운 배열을 리턴하는 방식으로 접근 허용
        return [...this.blocks];
    }
}
#5 블록체인 테스트하기
객체 생성과 로그찍기
const blockchain = new Blockchain();
blockchain.addBlock("fisrt");
blockchain.addBlock("second");
blockchain.addBlock("third");

// 해킹시도: 해킹이 되었다면 새로운 블록이 추가된 상태로 log가 찍혀야한다
blockchain.getBlocks().push(new Block("xxxx",  111, "TRY-HACKED"))
// getBlock 함수에서 아예 새로운 배열을 리턴받았으므로, 원본의 변경은 일어나지 않았다
console.log(blockchain.getBlocks());
로그확인
[
  Block {
    prevHash: '',
    height: 1,
    data: 'fisrt',
    hash: '31cbc6dd855376c4c5b1e0055fd7a361d43ee319219a57c70a542b0c68c0c619'
  },
  Block {
    prevHash: '31cbc6dd855376c4c5b1e0055fd7a361d43ee319219a57c70a542b0c68c0c619',
    height: 2,
    data: 'second',
    hash: '42e8b039924d8ef56e976fec8416ea126fc7e318ba40ca325397415910a433ba'
  },
  Block {
    prevHash: '42e8b039924d8ef56e976fec8416ea126fc7e318ba40ca325397415910a433ba',
    height: 3,
    data: 'third',
    hash: 'cb542f30098538a6f25d9b9b9bc68851cd0644b447b2f4f078c7557ac40e25ca'
  }
]
짧은 실습 끝